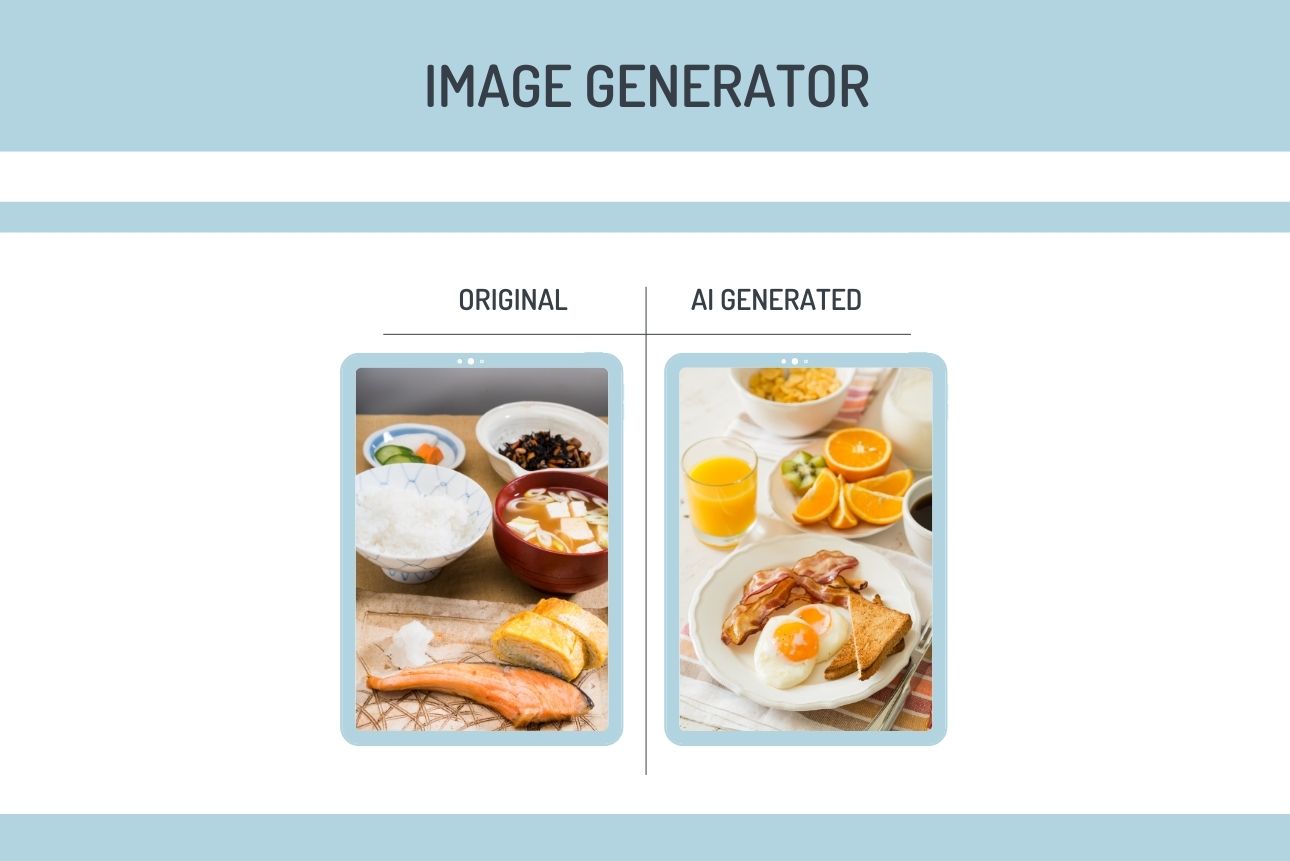
In this tutorial, I’ll walk you through building an AI-powered image generation application that uses Stable Diffusion for creating images based on user prompts. By leveraging Google Colab’s free GPU, we’ll use Stable Diffusion to perform the heavy computations and then connect it to a Flask web application hosted on a local machine.
With Ngrok, we’ll tunnel the Flask server, allowing it to communicate seamlessly with the Colab model and serve the generated images to users in real-time.
Project Overview
- Stable Diffusion: A powerful image generation model.
- Google Colab: A cloud-based platform that provides free GPU resources.
- Flask: A lightweight web framework to handle the backend.
- HTML & JavaScript: To create a simple, user-friendly front end.
- Ngrok: To expose the local Flask server publicly and connect it with Colab.
Workflow:
- User inputs a prompt on the HTML frontend.
- The Flask server sends the prompt to Colab, where the Stable Diffusion model generates an image.
- The generated image is sent back and displayed on the user’s screen.
Setting Up the Project
Step 1: Directory Structure
To organize the project files, we’ll use the following directory structure:
my_image_generation_project/
├── app.py # Flask backend
├── requirements.txt # Required Python packages
├── static/
│ ├── style.css # CSS for styling the frontend
│ └── generated_images/ # Folder to store generated images (optional)
├── templates/
│ └── index.html # Frontend HTML
└── venv/ # Virtual environment
Step 2: Code Setup
1. Colab Code for Stable Diffusion and Ngrok Connection
In Colab, we’ll set up Stable Diffusion and Ngrok, which will allow our model to be accessible by Flask.
# Step 1: Install required libraries

!pip install flask pyngrok diffusers torch transformers

# For Stable Diffusion, Flask, and Ngrok

from flask import Flask, request, send_file

from pyngrok import ngrok

from diffusers import StableDiffusionPipeline

import torch

from io import BytesIO

!ngrok authtoken 'Your Token'

import os

# Ensure directories exist

os.makedirs("static/generated_images", exist_ok=True)


# Step 2: Initialize the Stable Diffusion model

sd_model = StableDiffusionPipeline.from_pretrained("CompVis/stable-diffusion-v1-4").to("cuda")

# Step 3: Set up Flask application

app = Flask(__name__)

@app.route("/generate-image", methods=["POST"])

def generate_image():

# Get text prompt from the POST request

data = request.get_json()

prompt = data.get("text", "")

# Generate an image based on the prompt

image = sd_model(prompt).images[0]

# Save image to a BytesIO object for easy transmission

img_io = BytesIO()

image.save(img_io, "PNG")

img_io.seek(0)

return send_file(img_io, mimetype="image/png")

# Step 4: Start Ngrok tunnel and run the app

public_url = ngrok.connect(8000)

print("Public URL:", public_url)


if __name__ == "__main__":

app.run(port=8000)
2. Flask Code (app.py)
On your desktop inside your main directory ‘my_image_generation_project’, create app.py for the Flask backend, which will interface with Colab using the Ngrok URL.

3. Frontend HTML and JavaScript Code (index.html)
In the templates folder, create an index.html file for the user interface
<!DOCTYPE html>
<html lang="en">
<head>
    <meta charset="UTF-8">
    <meta name="viewport" content="width=device-width, initial-scale=1.0">
    <title>AI Image Generator</title>
    <link href="https://stackpath.bootstrapcdn.com/bootstrap/4.5.2/css/bootstrap.min.css" rel="stylesheet">
    <link rel="stylesheet" href="static/style.css">
    <style>
        /* Custom styling */
        body, html {
            height: 100%;
            display: flex;
            align-items: center;
            justify-content: center;
            margin: 0;
            background-color: #f7f9fc;
            font-family: Arial, sans-serif;
        }
        .container {
            max-width: 500px;
            width: 100%;
            padding: 20px;
            background-color: #fff;
            border-radius: 8px;
            box-shadow: 0 4px 8px rgba(0, 0, 0, 0.1);
            text-align: center;
        }
        .form-title {
            font-size: 1.4em;
            font-weight: bold;
            color: #333;
            margin-bottom: 15px;
        }
        .form-group textarea {
            resize: none;
            min-height: 100px;
            font-size: 0.9em;
        }
        .btn-generate {
            width: 100%;
            font-size: 1em;
            margin-top: 10px;
        }
        .image-result {
            margin-top: 20px;
            text-align: center;
        }
        .image-result img {
            max-width: 100%;
            height: auto;
            border-radius: 8px;
            box-shadow: 0 4px 8px rgba(0, 0, 0, 0.2);
        }
        .placeholder-text {
            color: #888;
            font-size: 0.9em;
            font-style: italic;
        }
    </style>
</head>
<body>
    <div class="container">
        <div class="form-title text-center mt-4 mb-3">
            <h2>AI Image Generator</h2>
        </div>
        <form id="generate-form">
            <div class="form-group">
                <textarea id="text-input" name="text" class="form-control" placeholder="Enter your prompt..."></textarea>
            </div>
            <div class="text-center">
                <button type="button" class="btn btn-primary btn-generate" onclick="generateImage()">Generate Image</button>
            </div>
        </form>

        <div id="image-result" class="image-result mt-4 text-center">
            <!-- Placeholder text or generated image -->
            <p class="placeholder-text">Your generated image will appear here.</p>
        </div>
    </div>

    <script>
        function generateImage() {
            const text = document.getElementById('text-input').value;

            fetch('/generate-image', {
                method: 'POST',
                headers: {
                    'Content-Type': 'application/x-www-form-urlencoded',
                },
                body: `text=${encodeURIComponent(text)}`
            })
            .then(response => response.blob())
            .then(imageBlob => {
                const imageUrl = URL.createObjectURL(imageBlob);
                const imageResult = document.getElementById('image-result');
                imageResult.innerHTML = `<img src="${imageUrl}" alt="Generated Image">`;
            })
            .catch(error => {
                const imageResult = document.getElementById('image-result');
                imageResult.innerHTML = `<p class="text-danger">Failed to generate image. Please try again.</p>`;
            });
        }
    </script>
</body>
</html>
4. CSS (style.css)
Add basic styling in the static/style.css file to make the page look visually pleasing.
Step 3: Run the Project
- Start the Colab Backend: Run the Colab code to start the Ngrok tunnel and the Flask server on Colab.
- Run Flask Locally: Start the local Flask server by running
python app.pyin your terminal. - Access the Webpage: Open
http://localhost:8000in your browser, enter a prompt, and click the Generate Image button to see the output.
Final Output
Here’s what the final project should look like when you enter a prompt and click Generate Image:

Congratulations! You’ve successfully built an AI-powered image generation web app using Stable Diffusion, Colab, Flask, and Ngrok. This project demonstrates the seamless integration of machine learning models with a web interface, and it showcases how cloud platforms like Colab can be utilized to handle computationally heavy tasks without expensive infrastructure.
The team at Aitude.com consists of experienced AI specialists who have been building cutting-edge AI applications for over 5 years. If you’re looking for a reliable AI expert team to bring your project to life, reach out to us today!
Happy coding! 🚀

Rupendra Choudhary is a passionate AI Engineer who transforms complex data into actionable solutions. With expertise in machine learning, deep learning, and natural language processing, he builds systems that automate processes, uncover insights, and enhance user experiences, solving real-world problems and helping companies harness the power of AI.


